Learn How To Install Our Watts Conversion Kits
General
6 months ago
If you are not familiar with how watts conversion kits are installed they can seem quite daunting the first time you go to install them. I put this together to provide some clarity and give some basic steps to follow for Installation.
- Remove the ¾” nuts and washers from your upper brackets and slide studs on the upper brackets into the factory holes of the package tray. Install the nuts and washers leaving them loose so the brackets can move.
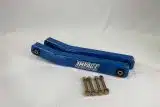
- Next, install the upper trailing arms into the upper brackets again leaving everything loose.
- Now install the upper arms onto the upper ears of your rear end again leaving loose. You will have to rotate brackets and rear end to get these to align.
- At this time, you will want to set your frame at its final ride height and the rear end at its final ride height. I like to simply put the wheels/tires I am running on the rear-end and use blocks or jack stands to set the frame ride height.
- Once you are at ride height square the rear end in the frame from left to right
- Next you will want to set your pinion angle. I like to set this around 5 degrees pointing upwards. Place a jack or block under the rear end to hold it in place.
- Once you have everything set in its place you can snug up the nuts on the top brackets to get the brackets flat on the frame. Once flat you can mark and cut your holes for the bolts. The upper brackets should be flat on the frame and the upper arms should be able to smoothly move in the brackets.
- Install the bolts in the upper brackets and tighten the bolts for the top trailing arms.

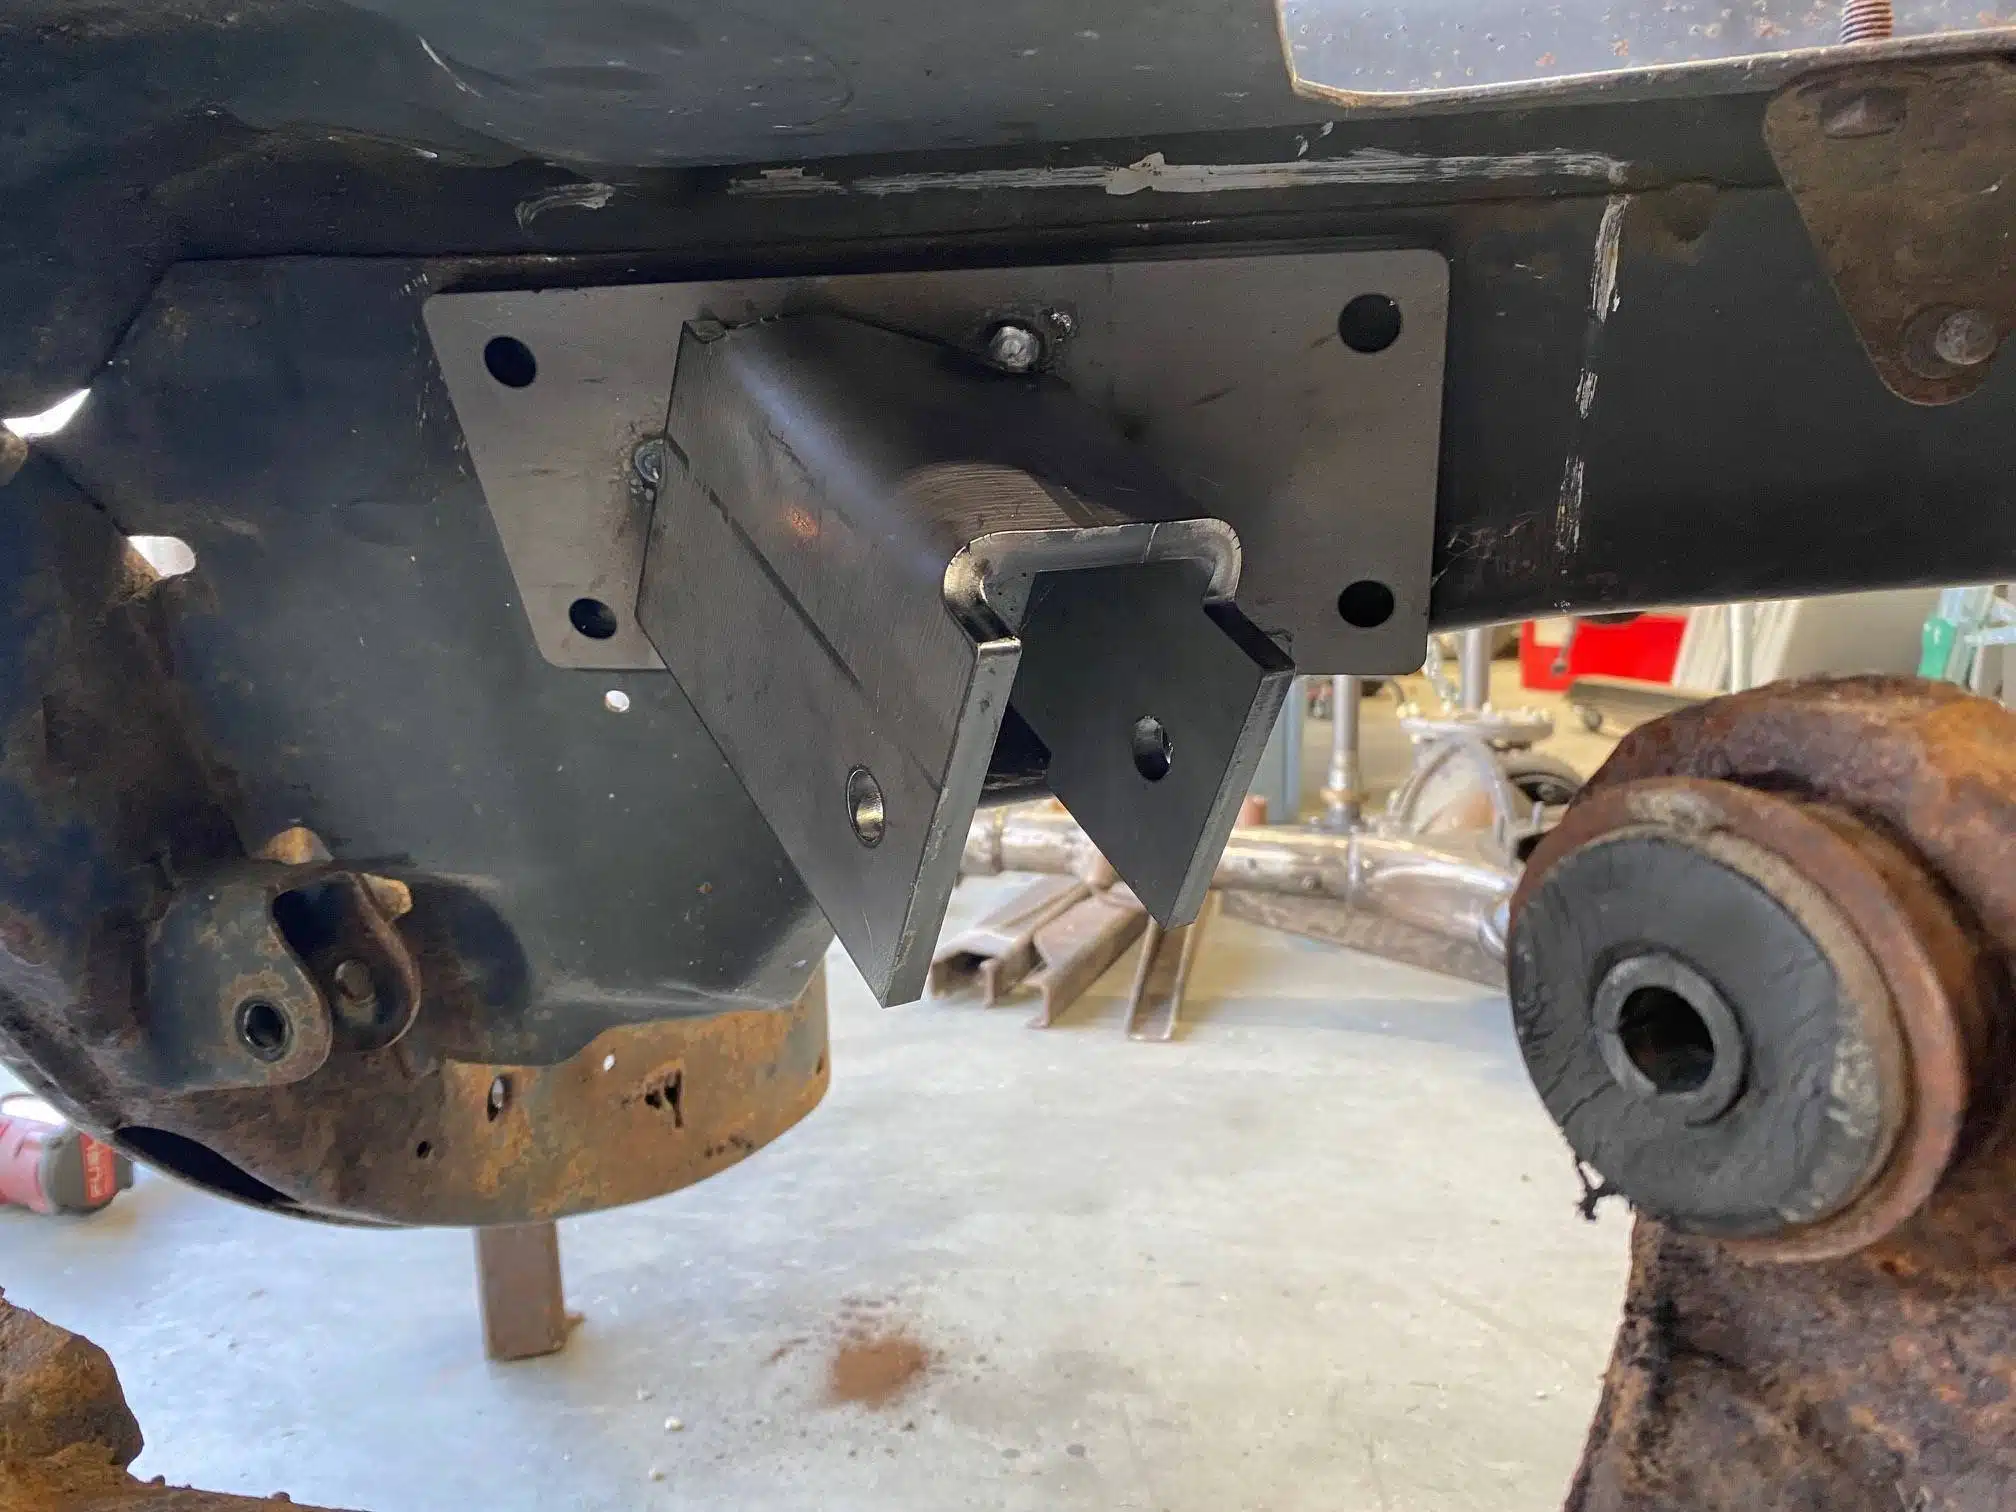
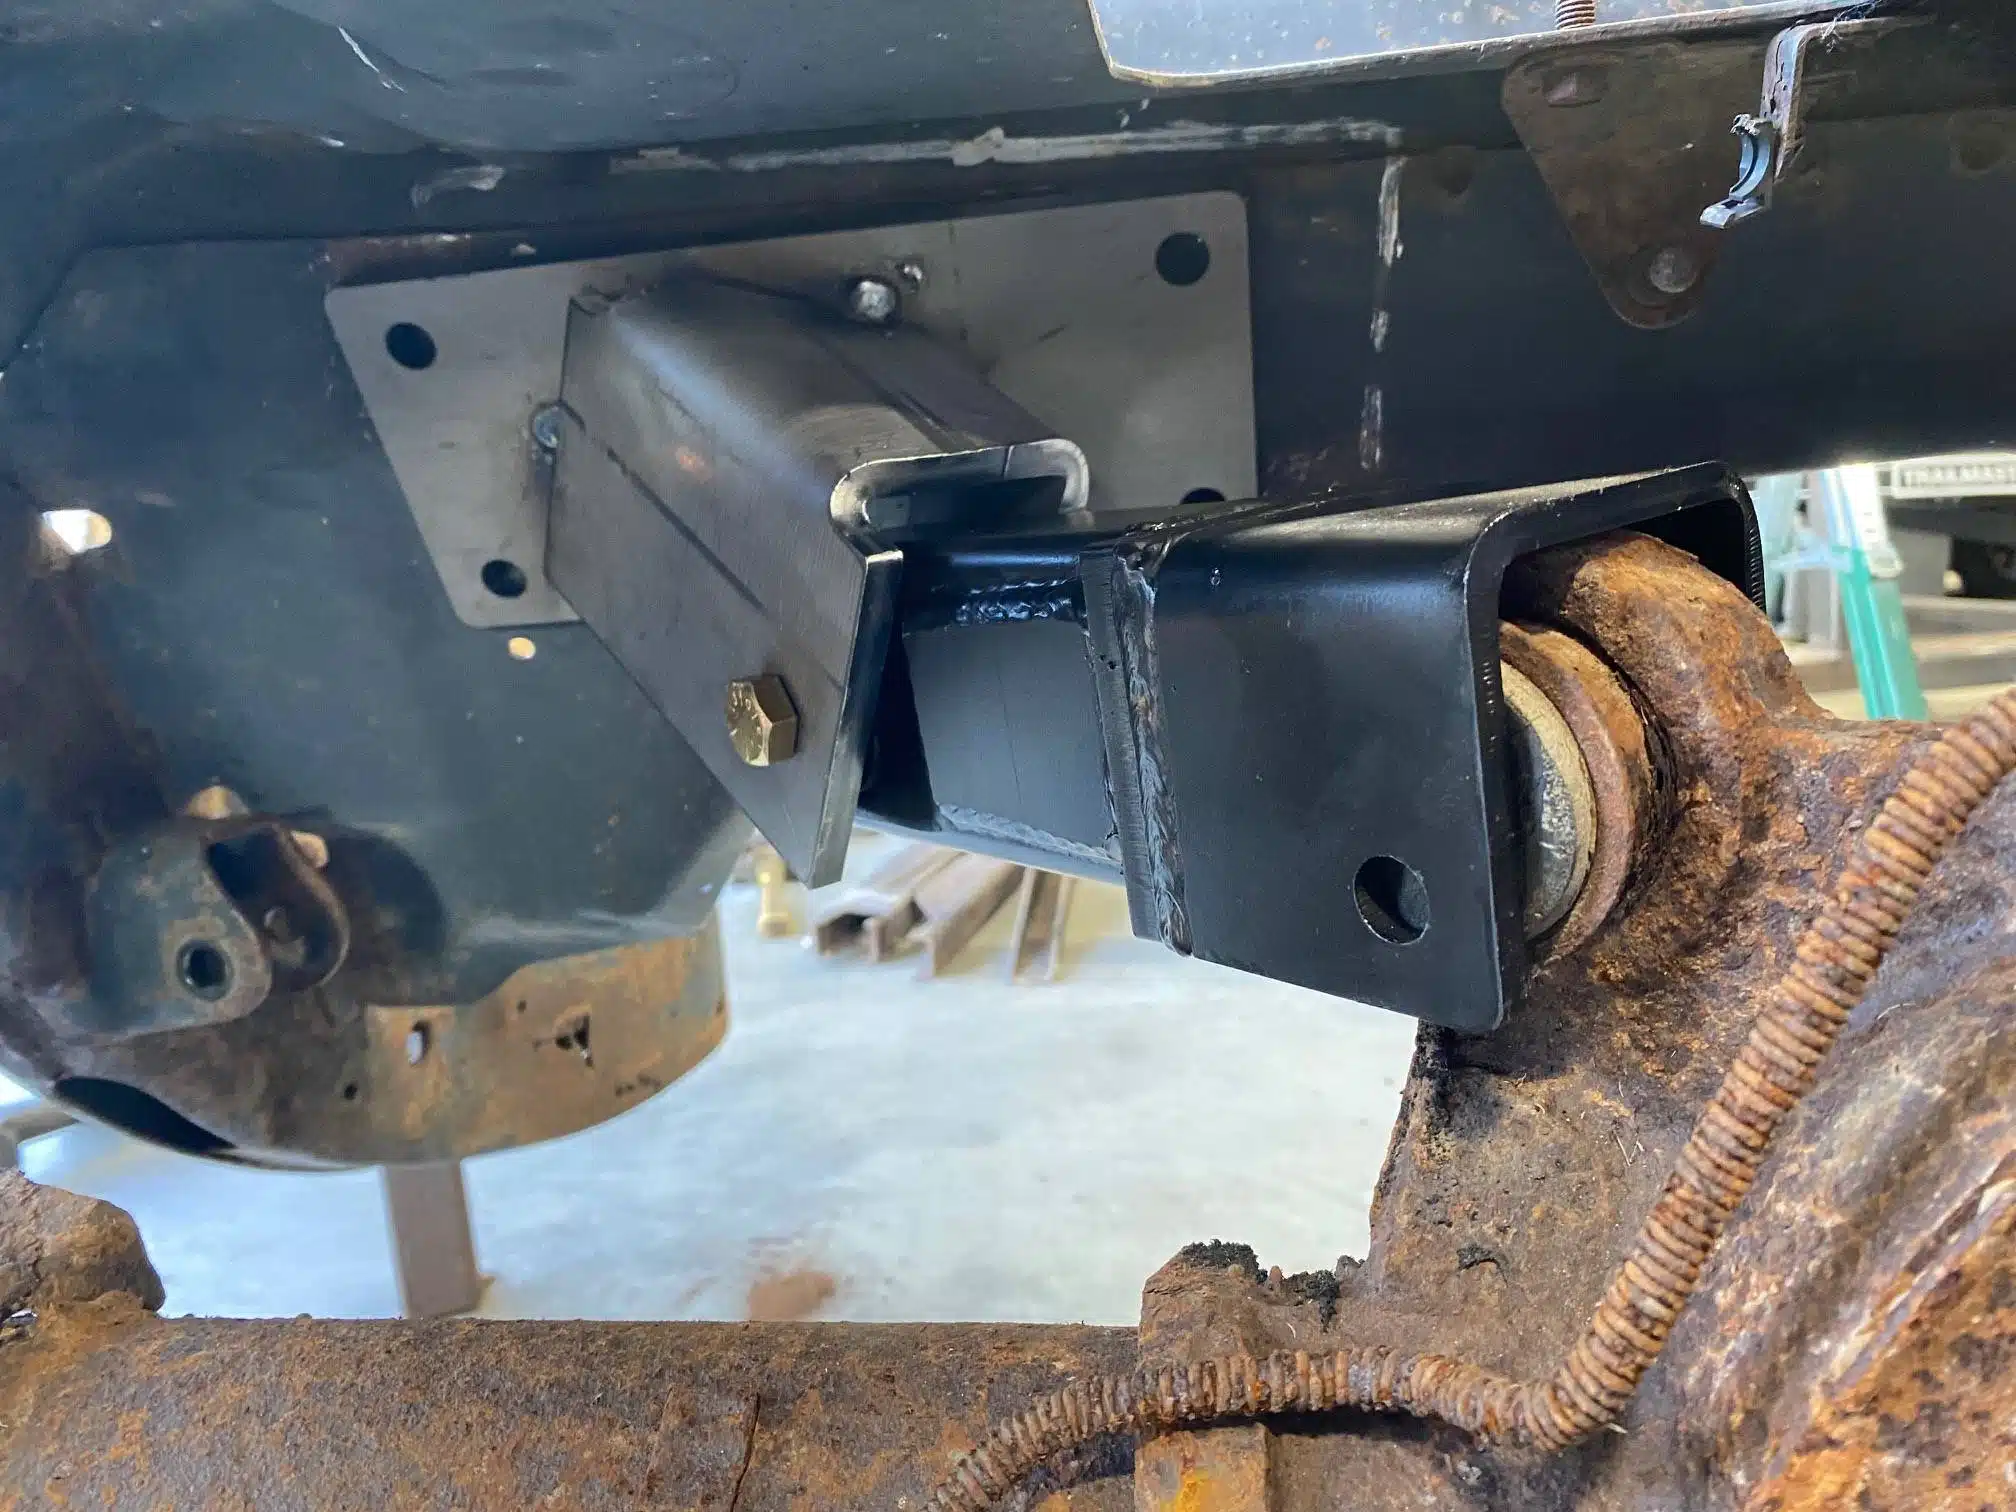
- Now install the lower arms to your rear end and install the lower bracket to the front of your trailing arms. Leave the nuts off for now.
- Raise the lower arm and bracket up to the side of the frame and position it where you want it.
- Double check your pinion angle has not moved and mark the hole where the bolt goes for the bracket on your frame.
- Drill or cut a hole for the lower bracket bolts and then bolt/tighten everything together.
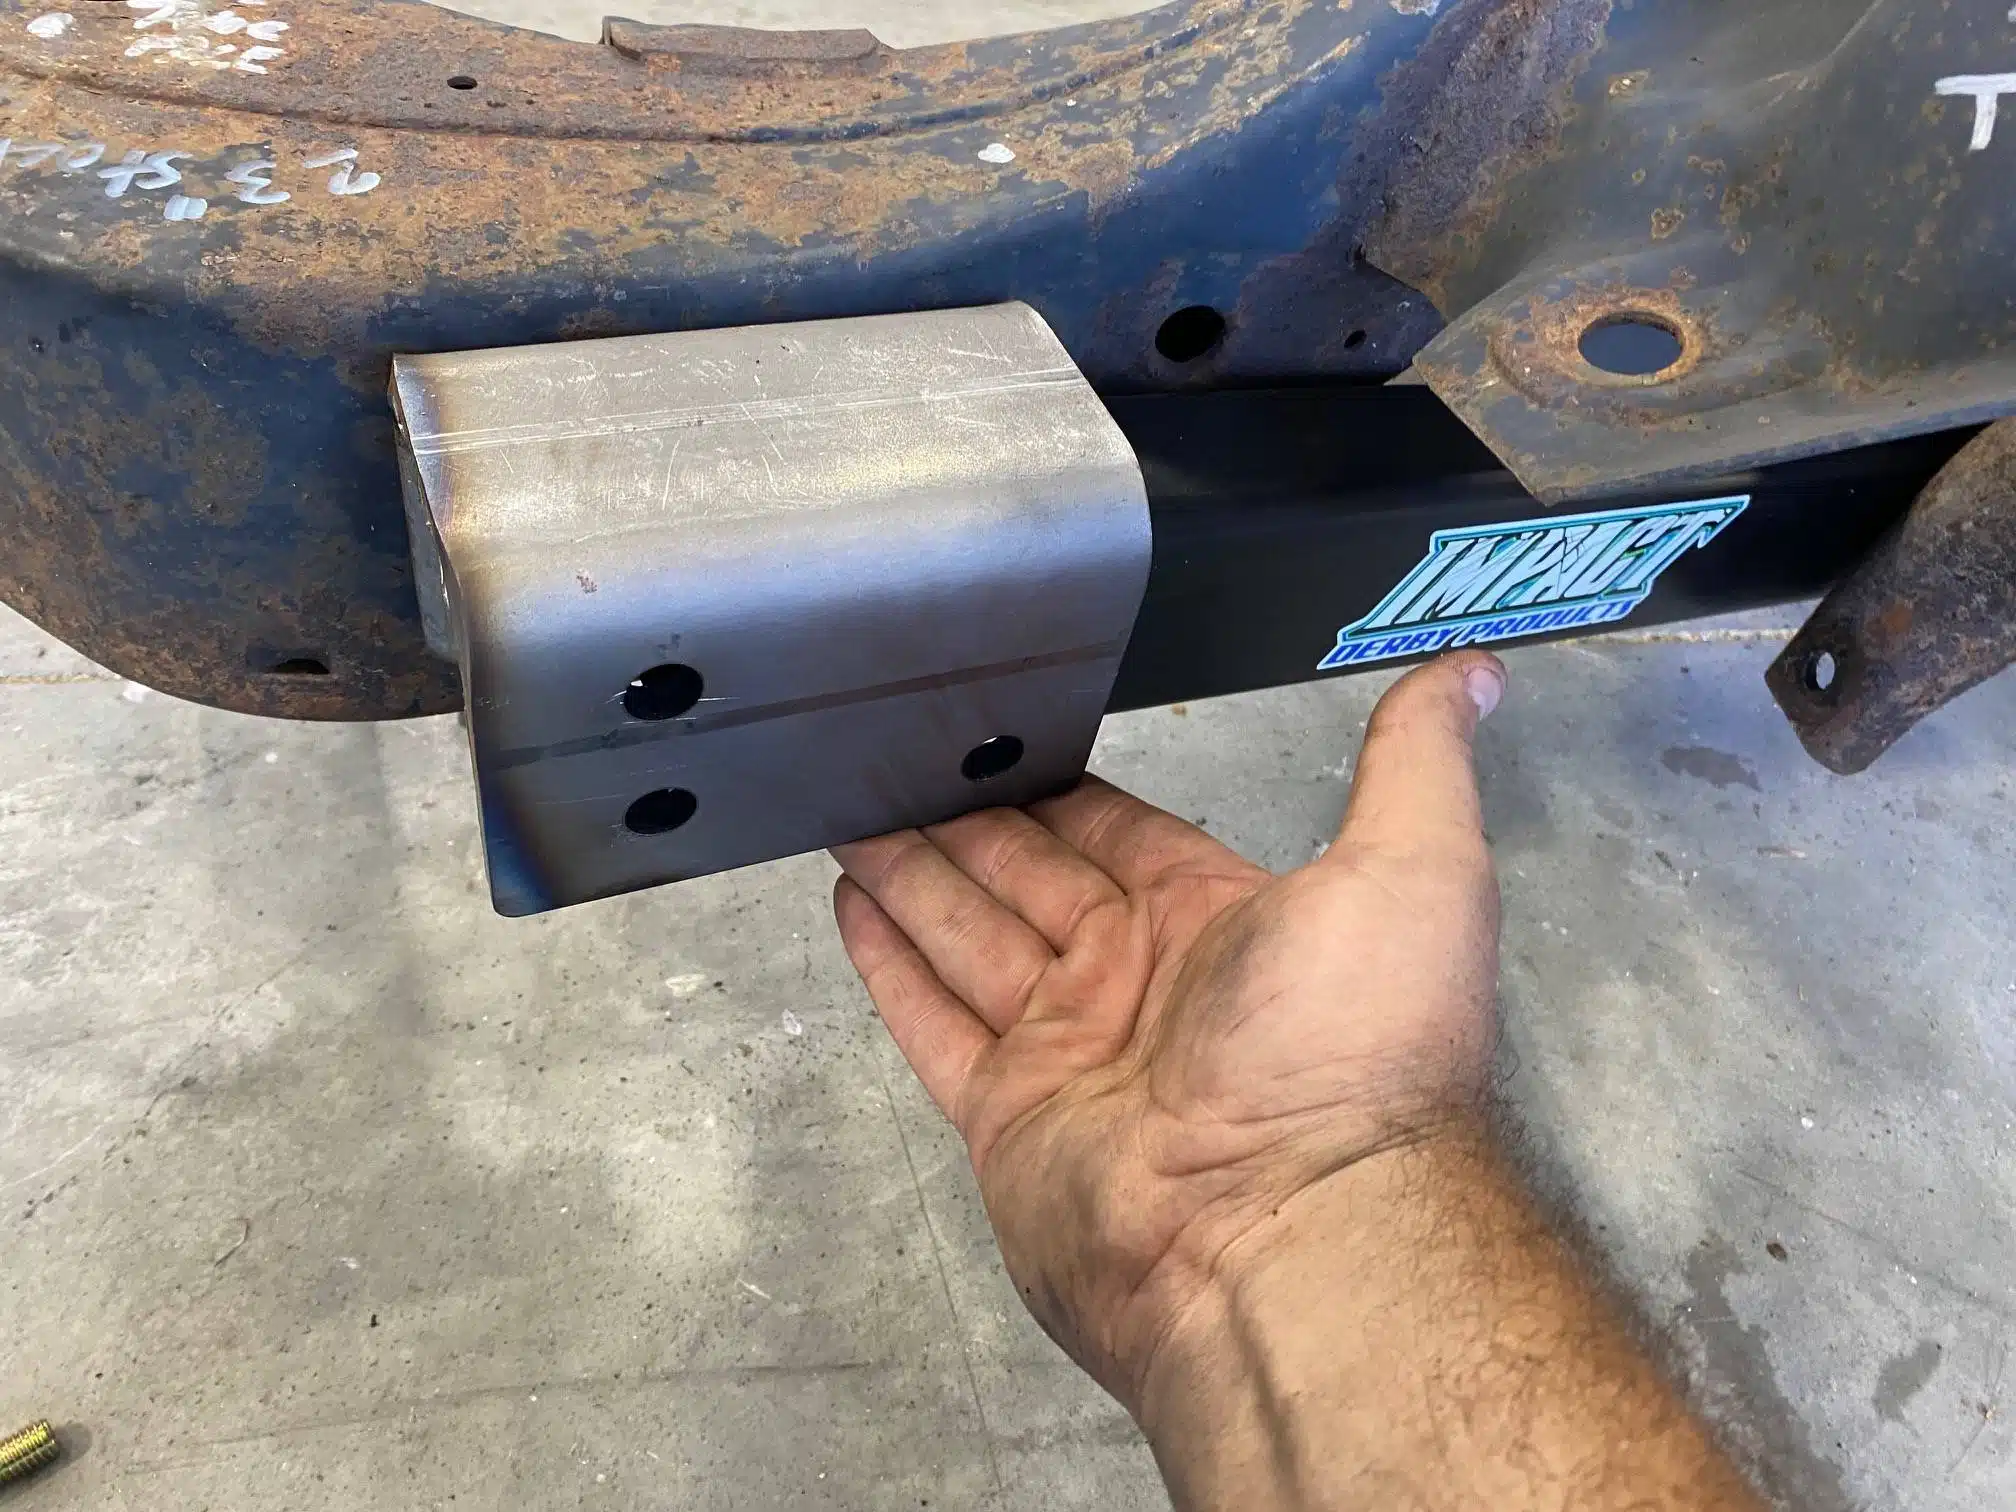
Why our watts conversion kits?
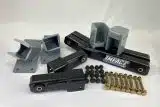
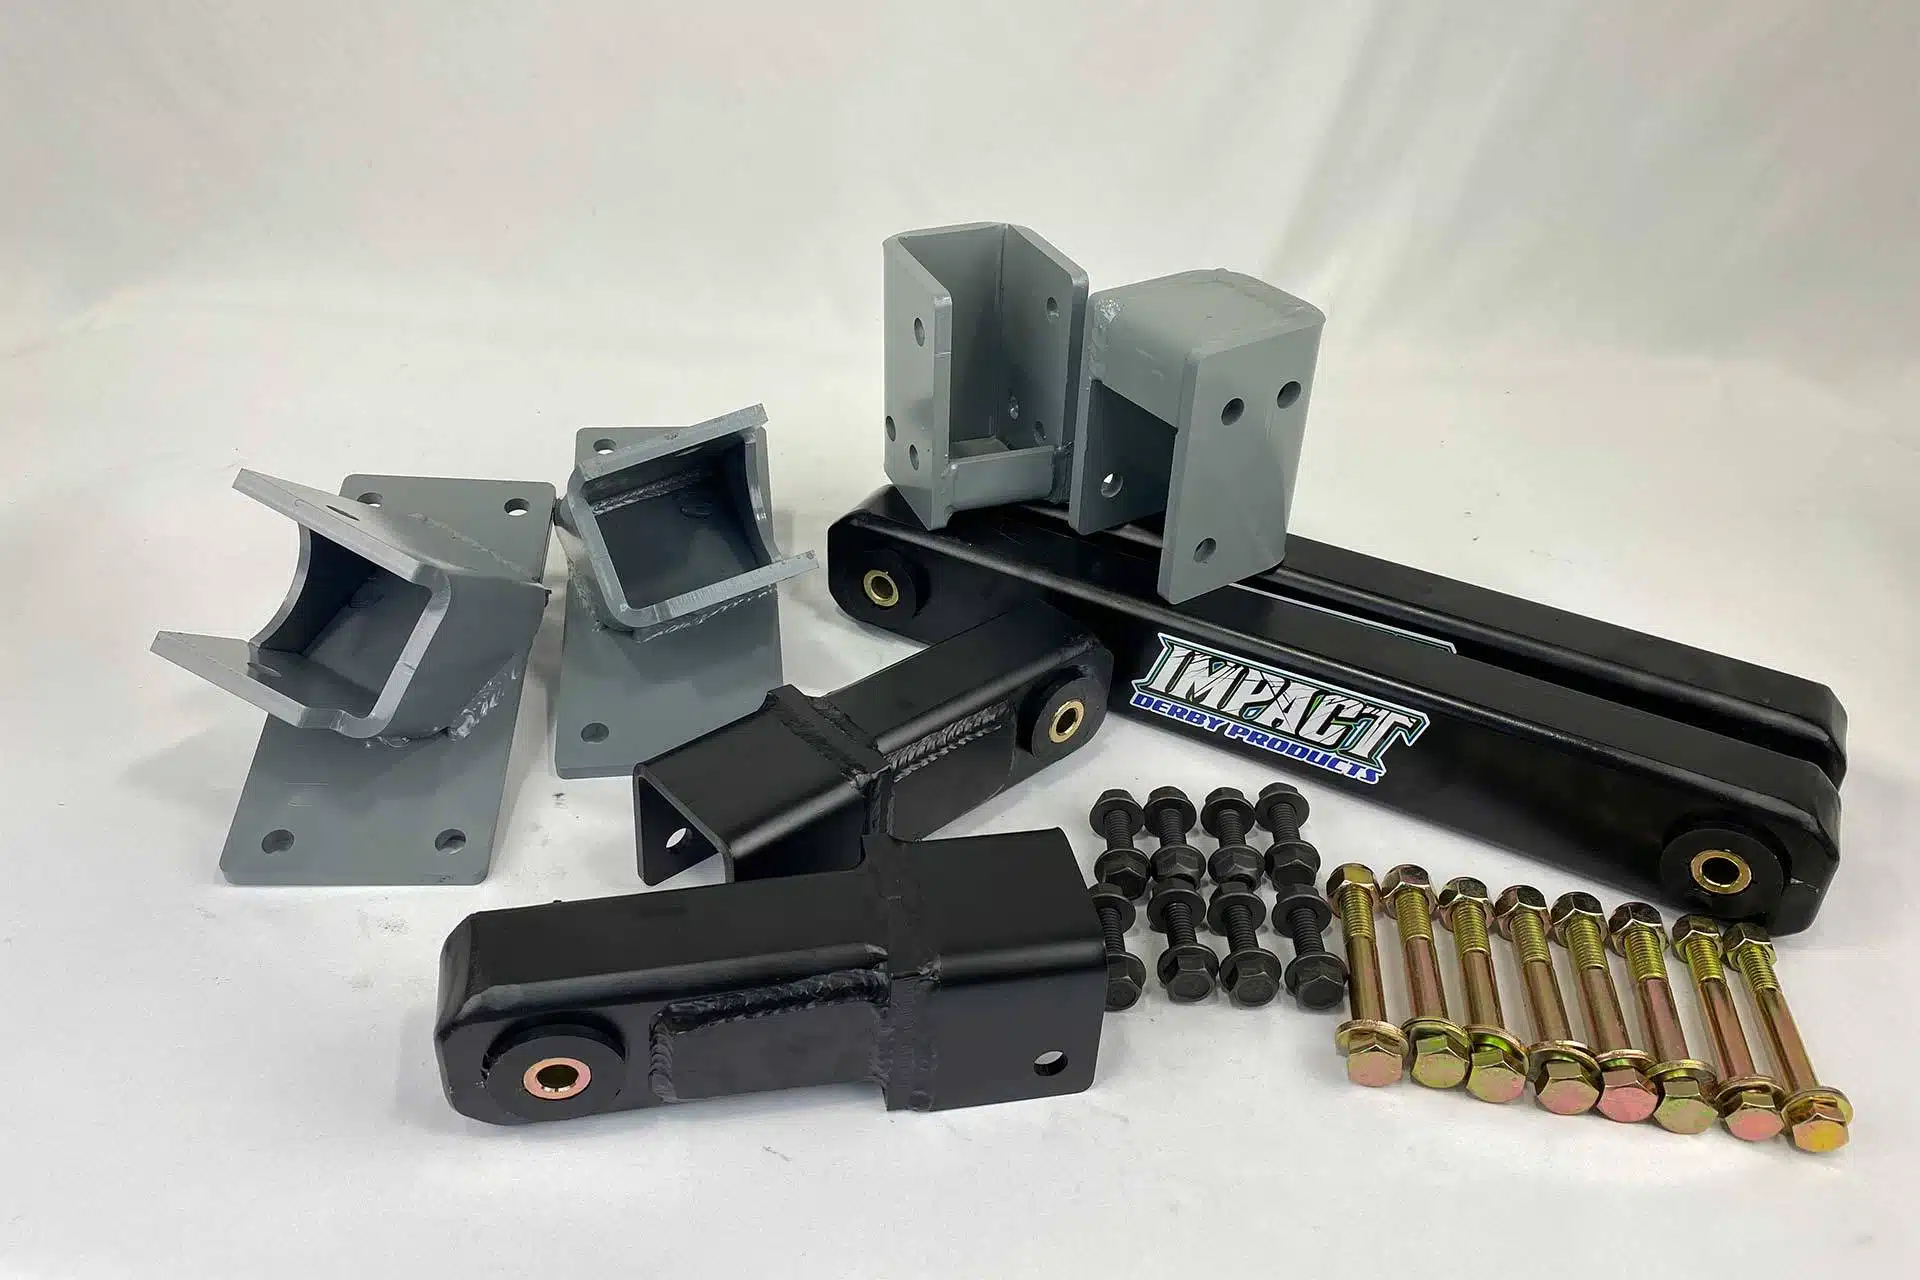
Our 3/8″ thick watts conversion kits were designed for each specific rear end type in mind. The placement of the upper ears between a GM rear end such as a 10 bolt and 12 bolt is different than a Ford 8.8 or a rear end jigged from a ford. Having these options insures hassle free installation.